Common Conker Mistakes: Drilling, Threading, and Storing Your Nuts Wrong
Every autumn, kitchen tables fill with glossy brown conkers, a needle, a spool of thread and a great deal of confidence. Two days later, half the haul is split, one string has gone slack, and the best conker in the bag has turned grey and soft at the bottom of a plastic tub.
Almost none of that is bad luck. Horse chestnuts respond well to a few simple habits and badly to shortcuts, and the same handful of mistakes ruins them every year. Here is what goes wrong, and how to fix it.
Drilling: where most conkers are lost
The hole is the weakest point of any conker, and it is the part most people rush. A shell around a clean, snug hole will take a great many hits. A shell around a ragged one will not.
Match the bit to the string, not to the drill
The most common error is drilling a hole far wider than the string that will sit in it. A loose string lets the conker slide and swing, so every strike lands on the rim of the hole rather than the shell around it, and the conker splits outward from the middle. A 3mm or 4mm bit suits most shoelaces and cords. If the string rattles in the hole, use a thicker string rather than a bigger drill.
Drill slowly, too. A fast bit heats up through friction, and heat cracks the shell around the entrance, leaving a hairline you will not notice until the conker is on the end of a string and someone is aiming at it. If you can smell hot shell, you are already going too fast. Let the bit cut, not burn.
Drill through the middle, and from both sides
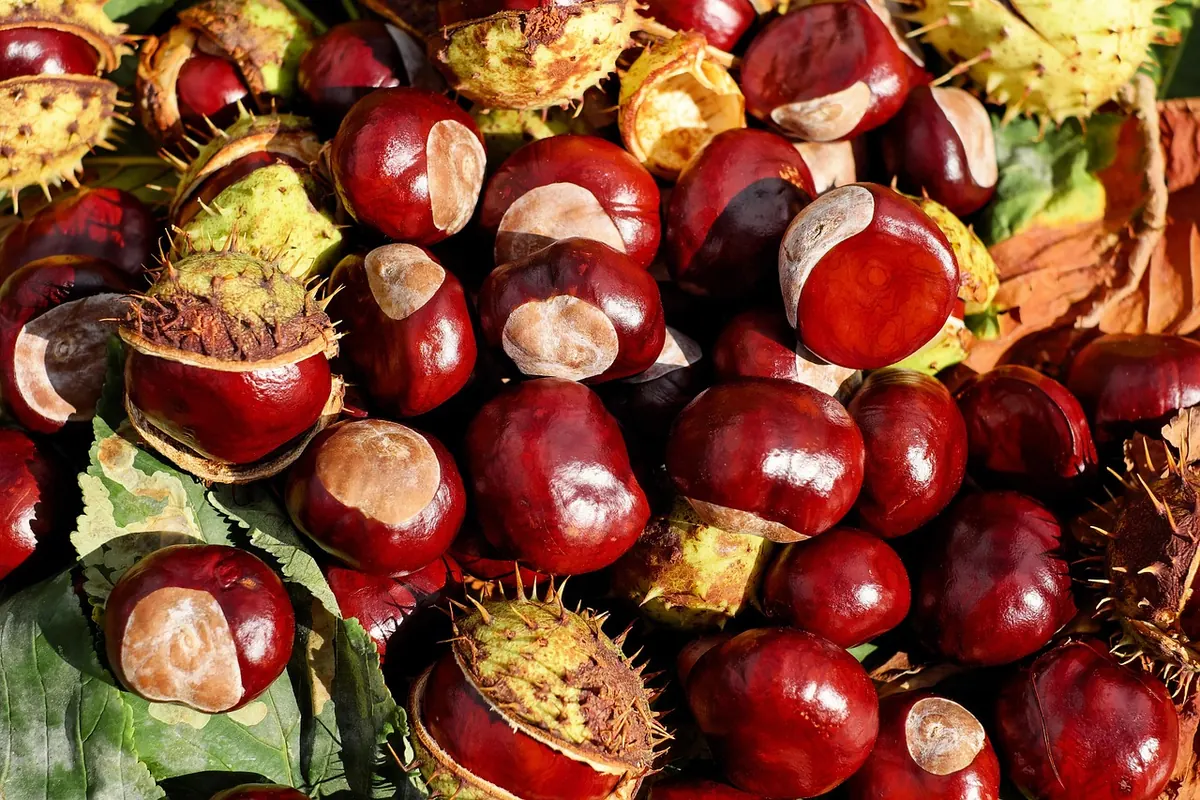
Every conker has a pale, round eye at each end where it sat inside the husk. Drilling between those two points keeps the string running through the thickest part of the shell and makes the conker hang plumb. Drill off to one side and it will hang at an angle, exposing the thin edge of the shell to the first decent shot.
Support the conker while you drill — a folded cloth in a vice, or held against a scrap of wood — so the shell cannot flex and split. Then drill from both ends: go in one side, stop the moment the bit breaks through, turn the conker over and come back the other way. The two holes meet in the middle, and neither face is left with the torn, ragged edge that a single pass produces.
Don't drill them the day you pick them up
Fresh conkers are full of sap and split easily. Spread them in a paper bag or a shallow cardboard box for three or four days first. They stay firm; they simply stop being damp. That short wait prevents more splits than any amount of careful drilling on a soggy conker.
Threading: knots that pull through and strings that saw
Two failures account for most broken strings. The first is string that is too thin. Fishing line, thin nylon and cheap parcel twine cut into the shell like a wire, and they stretch under load, which makes the conker bounce instead of absorbing the hit. A cotton or polyester cord of about 2mm, or an old shoelace, behaves far better. Many players thread the plastic tip of a lace through the hole and use it as a guide.
The second failure is a knot that is too small. As a conker dries it shrinks very slightly and the hole opens up, and a plain overhand knot will eventually pull straight through. Tie around something: a small bead, a short length of matchstick, a folded scrap of leather, or the plastic tip of a lace. Anything wider than the hole will do, and the conker still hangs straight because the stopper sits flat against the shell. If you are using a shoelace, a double knot against the plastic aglet is often enough, but check it after every few strikes — a knot that has worked loose is a conker lost to the gutter.
Threading itself should be gentle. Push the lace through the first hole, guide it out of the second, and pull only enough to seat the stopper. Do not yank the string tight against the shell; that pressure widens the hole and starts a crack. Leave a finger-length of string above the conker for grip, and tie the other end off with a loop that fits your hand. A thin needle can help, but a blunt one is safer: it pushes through the existing hole rather than carving a new path through the shell.
Storing: the slow killers
Conkers rarely die in battle alone. Most are weakened before they ever reach the playground by the way they are kept. The classic mistake is sealing them in a plastic tub or a sandwich bag and leaving them somewhere warm. That traps moisture, and moisture brings mould, soft spots and that grey, chalky bloom that signals a conker is already finished.
Keep them breathing, not sweating
Store conkers in paper, not plastic. A paper bag, a cardboard box, or a wicker basket lets air move around the shells while still keeping them in the dark. If you want to harden them, a cool, dry cupboard or a garage shelf is ideal. Avoid radiators, airing cupboards and sunny windowsills: fast drying makes the shell shrink unevenly and split around the hole.
Layers, not piles
Conkers pressed into a deep pile can bruise each other, and bruises turn soft. Spread them in a single layer, or at most two, with a little space between them. If you have a big haul, use several shallow boxes rather than one bucket. Turn them every few days and remove any that feel damp, smell sour or show a dark patch. One rotten conker in a closed box can spread mould to its neighbours.
Don't soak them in vinegar, oil or water
Old playground advice says to soak conkers in vinegar, bake them, or coat them in oil to make them harder. Most of it does more harm than good. Vinegar can soften the shell over time, oil traps dirt and makes the conker slippery in the hand, and baking dries it so quickly that it cracks. If you want to toughen a conker, the slow route is best: let it dry naturally for a week or two in a paper bag, then test it gently before it goes into the ring.
A good conker is not the hardest one in the box. It is the one with a clean hole, a snug string and a shell that has dried evenly.
Pre-match checks that save your best conker
Even a perfectly drilled, threaded and stored conker can be ruined in the first five minutes by a few small oversights. Run through this quick routine before you play.
- Check the knot. Roll the conker between your fingers and look for a gap between the stopper and the shell. If the string slides, tie a fresh knot.
- Inspect the hole. A hairline crack at the rim can be stopped with a dab of clear nail varnish, but a crack that runs into the shell means the conker is already beaten.
- Trim loose threads. A frayed end catches on clothing and pulls the conker off line. Melt or knot the end, or wrap it with a tiny piece of tape.
- Don't carry them in your pocket. Keys, coins and bus tickets chip the shells. Use a soft cloth bag or a padded tin with a little tissue.
- Rotate your stock. Bring two or three conkers, not one. That way a split shell does not end the game, and you can compare how different strings and holes behave.
Finally, accept that some conkers are simply not meant for competition. A misshapen one, one with a soft spot, or one that has already split around the eye is better used for practice or returned to the compost. The best players are not the ones who never break a conker; they are the ones who notice the warning signs early and leave the weak ones at home.
Photo: Couleur / Pixabay